Learning Python for Beginners — Part 1
By Data Impala
Python is a beginner-friendly programming language known for its clean syntax and readability.
It’s widely used in fields like data analysis, web development, automation, artificial intelligence, and more.
If you’re just stepping into the world of coding, Python is a fantastic place to begin.
In this guide, we’ll walk you through the installation process and IDE setup.
Then we’ll explain Python syntax and help you write your first code!
Let’s start from the ground up.
Table of Contents
Installing Python on Your Computer
Before writing code, you need to install Python on your machine. Luckily, the installation process is straightforward for all major operating systems.
On Windows
This is the go-to operating system for most.
As of March 2025, Windows holds approximately 72% of the desktop operating system market share worldwide.
That means most softwares are tailored-made to suit Windows Operating system. It’s easy to setup Python on Windows.
Here’s how you can do it.
Download the installer:
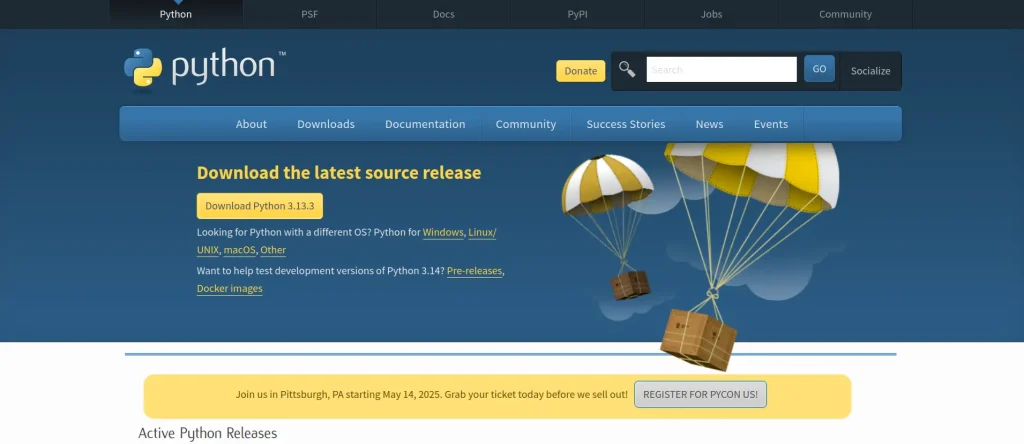
- Go to the official Python website: https://www.python.org/downloads
- Click on the Windows download link (you’ll see something like “Python 3.12.x”).
Run the installer:
- Important: Check the box that says “Add Python to PATH” before clicking “Install Now”.
- This option makes it easier to run Python from the command line.
Verify the installation:
- Open Command Prompt.
- Type:
python --version
- You should see something like Python 3.12.x.
On macOS
The most popular method for installing Python on macOS is to use the official Python website installer.
Alternatively, you can use Homebrew or Pyenv for managing different Python versions and environments.
Here’s how you can do it using Homebrew.
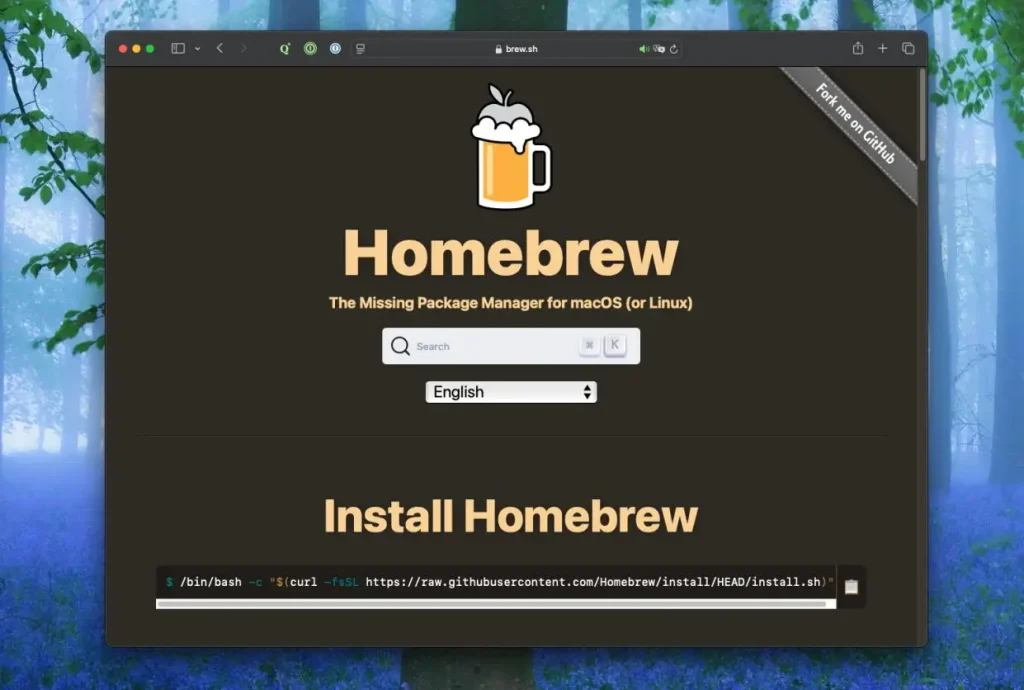
Install via Homebrew (recommended):
- First, install Homebrew if you haven’t already:
- Open Terminal and paste:
/bin/bash -c "$(curl -fsSL https://raw.githubusercontent.com/Homebrew/install/HEAD/install.sh)"
Then install Python:
brew install python
Check the version:
Run:
python3 --version
On macOS, Python might be accessed using python3 instead of python.
On Linux (Ubuntu/Debian)
Python usually comes pre-installed with Linux distributions.
But if you want the latest version, simply open the terminal and input:
sudo apt update
sudo apt install python3 python3-pip
To verify:
python3 --version
That should get the latest version of python installed in your system.
2. Setting Up a Code Editor (IDE)
An IDE (Integrated Development Environment) is where you write, test, and run your Python code.
You can use a simple text editor, but using an IDE helps a lot when you’re learning.
Option 1: VS Code (Visual Studio Code)
The VS Code comes with great features like syntax highlighting, auto-complete, error checking, and integrated terminal.
Here’s how to get started with VS code:
- Download: https://code.visualstudio.com/
- Install the Python extension from the Extensions marketplace.
- It works on Windows, macOS, and Linux.
Option 2: Thonny (Great for beginners)
Thonny is a great IDE for Python beginners due to its simple, intuitive interface and focus on learning.
You get a clear visualization of variables and code execution which is helpful for beginners.
It’s also very easy to set up!
- Download: https://thonny.org/
- No need to install Python separately—it comes bundled with it.
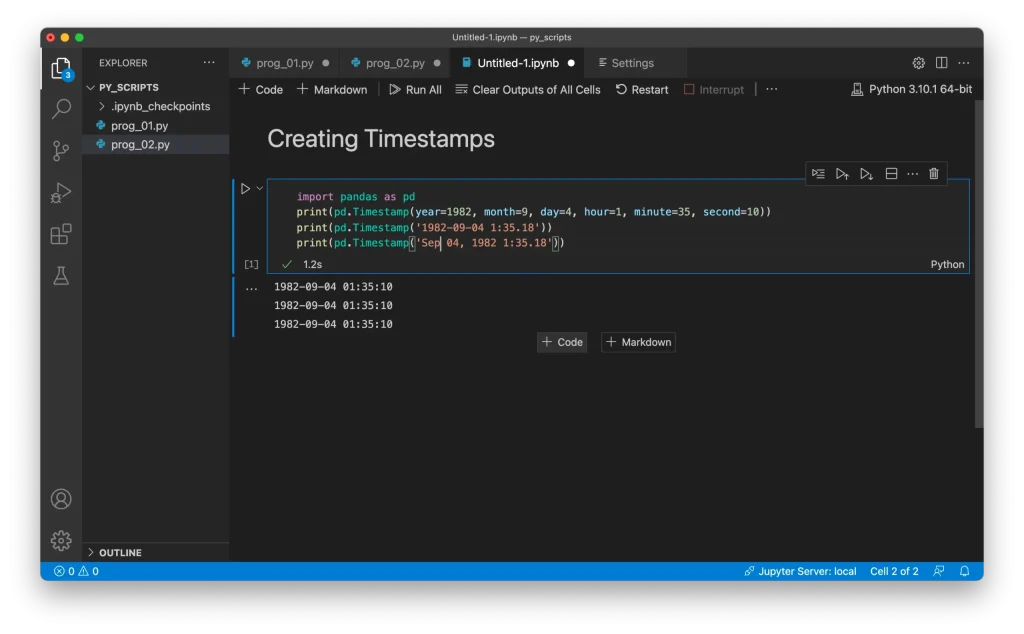
Option 3: Jupyter Notebook
If you’re data-focused learner looking to create interactive environment for exploring data, building models, and documenting, Jupyter Notebook is the right tool for you.
Jupyter opens in your browser and lets you write and run code in chunks—great for experimenting with data, plots, and math.
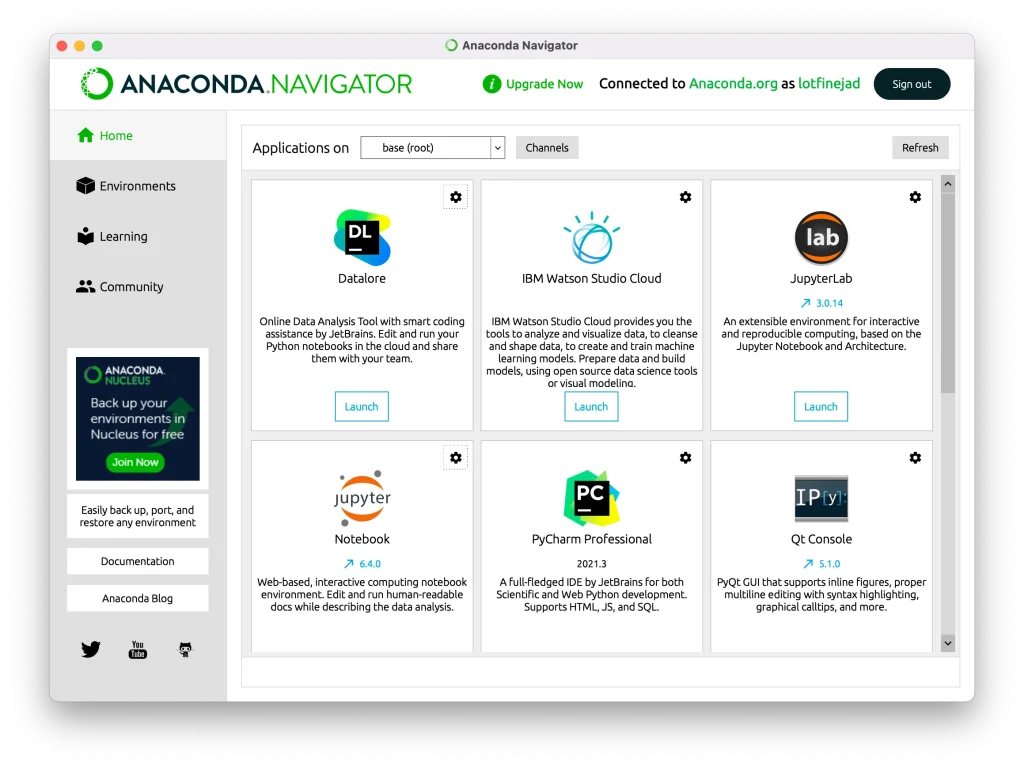
You can setup Jupyter Notebook via Anaconda Distribution. It’s one of the easier way to manage a lot of IDEs.
- Simply go to https://www.anaconda.com/download
- Download and setup Anaconda Distribution through the installer.
- You can install the Jupyter Notebook from the Anaconda Navigator.
Alternatively, you can install Jupyter Notebook through the command terminal.
Install via pip:
pip install notebook
Then launch it:
jupyter notebook
3. Writing and Running Your First Python Script
Let’s create your very first Python program!
We’re going to use VS Code to run our code. You can also use other IDEs that you prefer.
- Open your editor and create a new file.
- Save it as hello.py.
- Type this line:
print("Hello, world!")
- Save the file.
- Open your terminal or command prompt.
- Navigate to the folder where your file is saved.
- Run the script:
On Windows:
python hello.py
On Mac/Linux:
python3 hello.py
You should see:
Hello, world!
What Just Happened?
print() is a built-in Python function that outputs text to the screen.
Whatever is inside the quotation marks (single or double) is shown as is.
Python reads your file top to bottom, line by line.
4. Understanding Python’s Indentation and Simplicity
One of Python’s most noticeable traits is its use of indentation.
Instead of curly braces {} or semicolons ; like in some other languages, Python uses indentation (spaces or tabs) to define blocks of code.
For example:
if 5 > 2:
    print("5 is greater than 2")
Here’s what’s happening:
- The if statement checks a condition.
- The line below it is indented (usually 4 spaces). This tells Python it belongs inside the if block.
- If you forget to indent, or use the wrong number of spaces, Python will give you an error.
Python forces this structure to make code clean and readable, even for someone seeing it for the first time.
5. A Quick Look at Variables and Comments
Variables
Variables are used to store data. Think of them like labeled boxes.
name = "Alice"
age = 25
In the above:
- name is a variable that stores the text “Alice”.
- age stores the number 25.
You can then use them like this:
print("Name:", name)
print("Age:", age)
Python automatically understands the type of data you’re storing (text, numbers, etc.), so you don’t need to declare the type.
Comments
Comments are notes in your code that Python skips when running.
Use them to explain what your code does.
# This is a comment
# It helps you understand your code

print("Hello")  # This prints a message
To add a comment, start the line with #. Everything after that is ignored by Python.
Wrapping Up
You’ve just taken your first steps into the world of Python! You’ve learned how to:
- Install Python on your system
- Choose an IDE that fits your style
- Write and run a simple script
- Understand Python’s structure and indentation
- Use variables to store data
- Write comments for clarity
Python’s power lies in its simplicity. As you keep practicing, you’ll find that it’s not just easy to write, but also enjoyable to read.
Up next, we’ll learn how Python handles variables and data types.
Written by Ahnaf Chowdhury
Series: Learning Python for Beginners — Part 1.